

Teddy Bear Picnic Birthday Party
- Rach
- Jul 30, 2018
- 3 min read

Updated: Jul 31, 2018

A teddy bear picnic themed birthday party is a fun and simple theme. This post will lay out some cost effective ideas to plan this party.
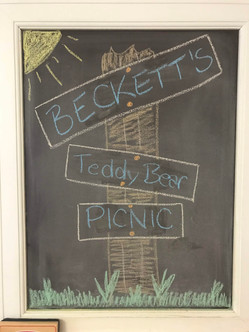
-Set Up-
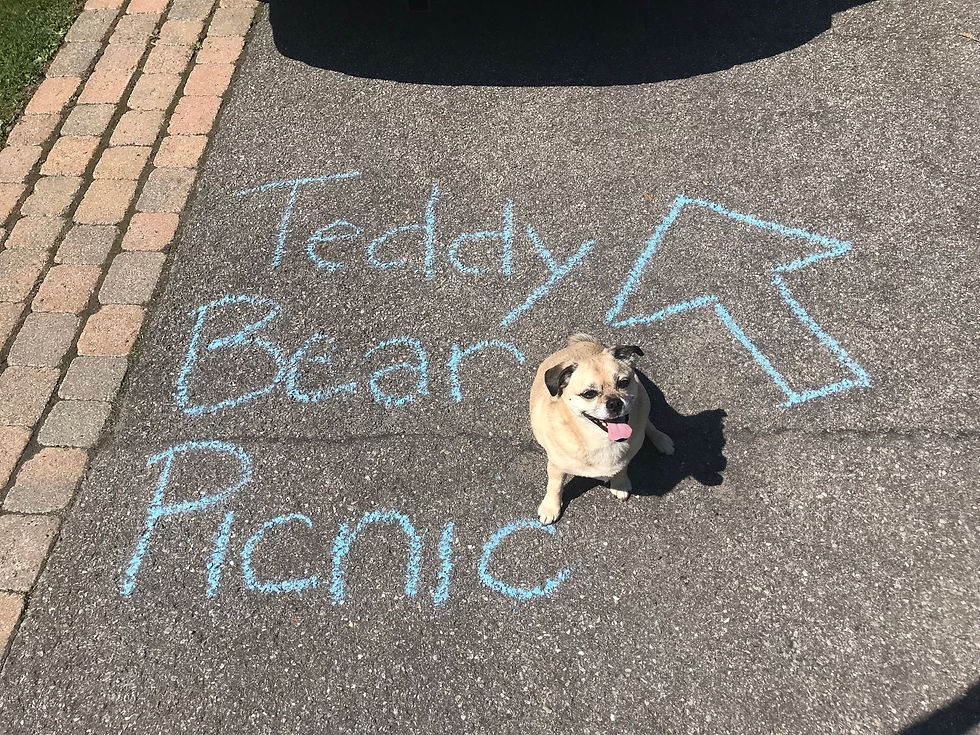
I purchased some giant chalk from my favourite store, Dollarama, and decorated the driveway and front porch leading up the the party. The paw prints leading up the steps are so adorable and easy for even the artistically challenged.

Inside we had a plaid accoutrements for the "picnic table" and added some of our favourite teddys and books about bears. There is a fantastic bagel shop we like to go to on Sundays so that made up the main course for lunch with trays of fruits and veggies for snacking. We also had wooden bowls that were filled with treats like gummy bears and teddy grahams!

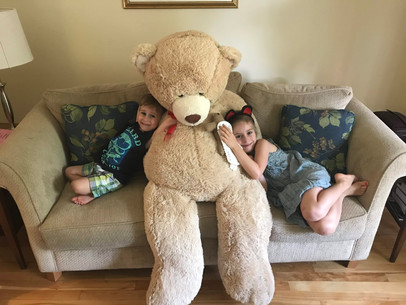
There was a giant teddy bear for the kids to take pictures with and cuddle. This was definitely a highlight for a lot of them since the bear was huge compared to them! This guy came from Home Depot around Christmas for $50. We also asked our guests to bring their teddy bears to the "picnic".


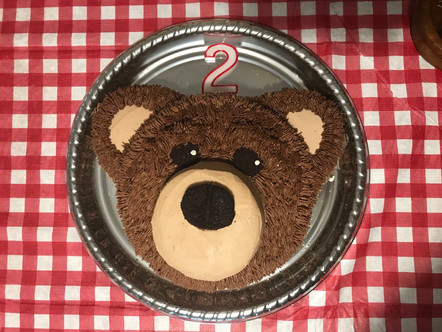
-The Cake-

It wouldn't be a party unless Rach Bakes something! This Teddy Bear Cake is a two layer chocolate AND vanilla cake with both types of buttercream icing as well. I used an 9 1/2" pan for the head and a 6" pan for the ears and muzzle. The eyes and noes are made out of compressed chocolate cake. The bear cake involves no fondant - just cake and icing!
-Loot-

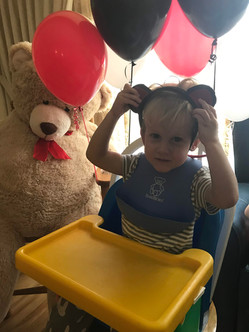
Instead of loot bags each of the kids got a bear headband. These weren't too complicated or expensive to assemble. There are some tutorials out there but none of them were exactly what I was looking for so I have laid of my supply list and process below!
Supplies
-Felt (my store only had multi packs so I chose black and red) $1.25 per pack
-Headbands $1.50 per pack of 2
-Glue Sticks $1.25
-Pipe Cleaner $1
I started by making a template for the shape of the ears so they would be uniform.


Once all of you pieces are cut out you can get down to business. Be sure you position your ears where you want them on the headband. I forgot about this around my 3rd headband and ended up with a very derpy looking bear. Once you have it where you want it you can start gluing it onto the underside of the head band.


After you have fully glued it down you can flip it right side up. I cut a pipe cleaner in half and conformed it to the shape of my bear's ear. Glue the pipe cleaner directly onto the headband and then glue all the edges together. This guarantees that the ear will stay upright and you can even adjust the position a bit too.


One ear down! Time to position the other ear and repeat the process outlined above.


The inner ear colour is pretty straight forward so my only advice is to look at in on the ear first and trim it if necessary before you start gluing. There is no turning back with felt and hot glue.


The outcome is adora-bear and under $2 each with left over pipe cleaners, felt, and glue! If you aren't up for that level of crafting you can glue pompoms on the headbands or buy some from a party store!


Comments